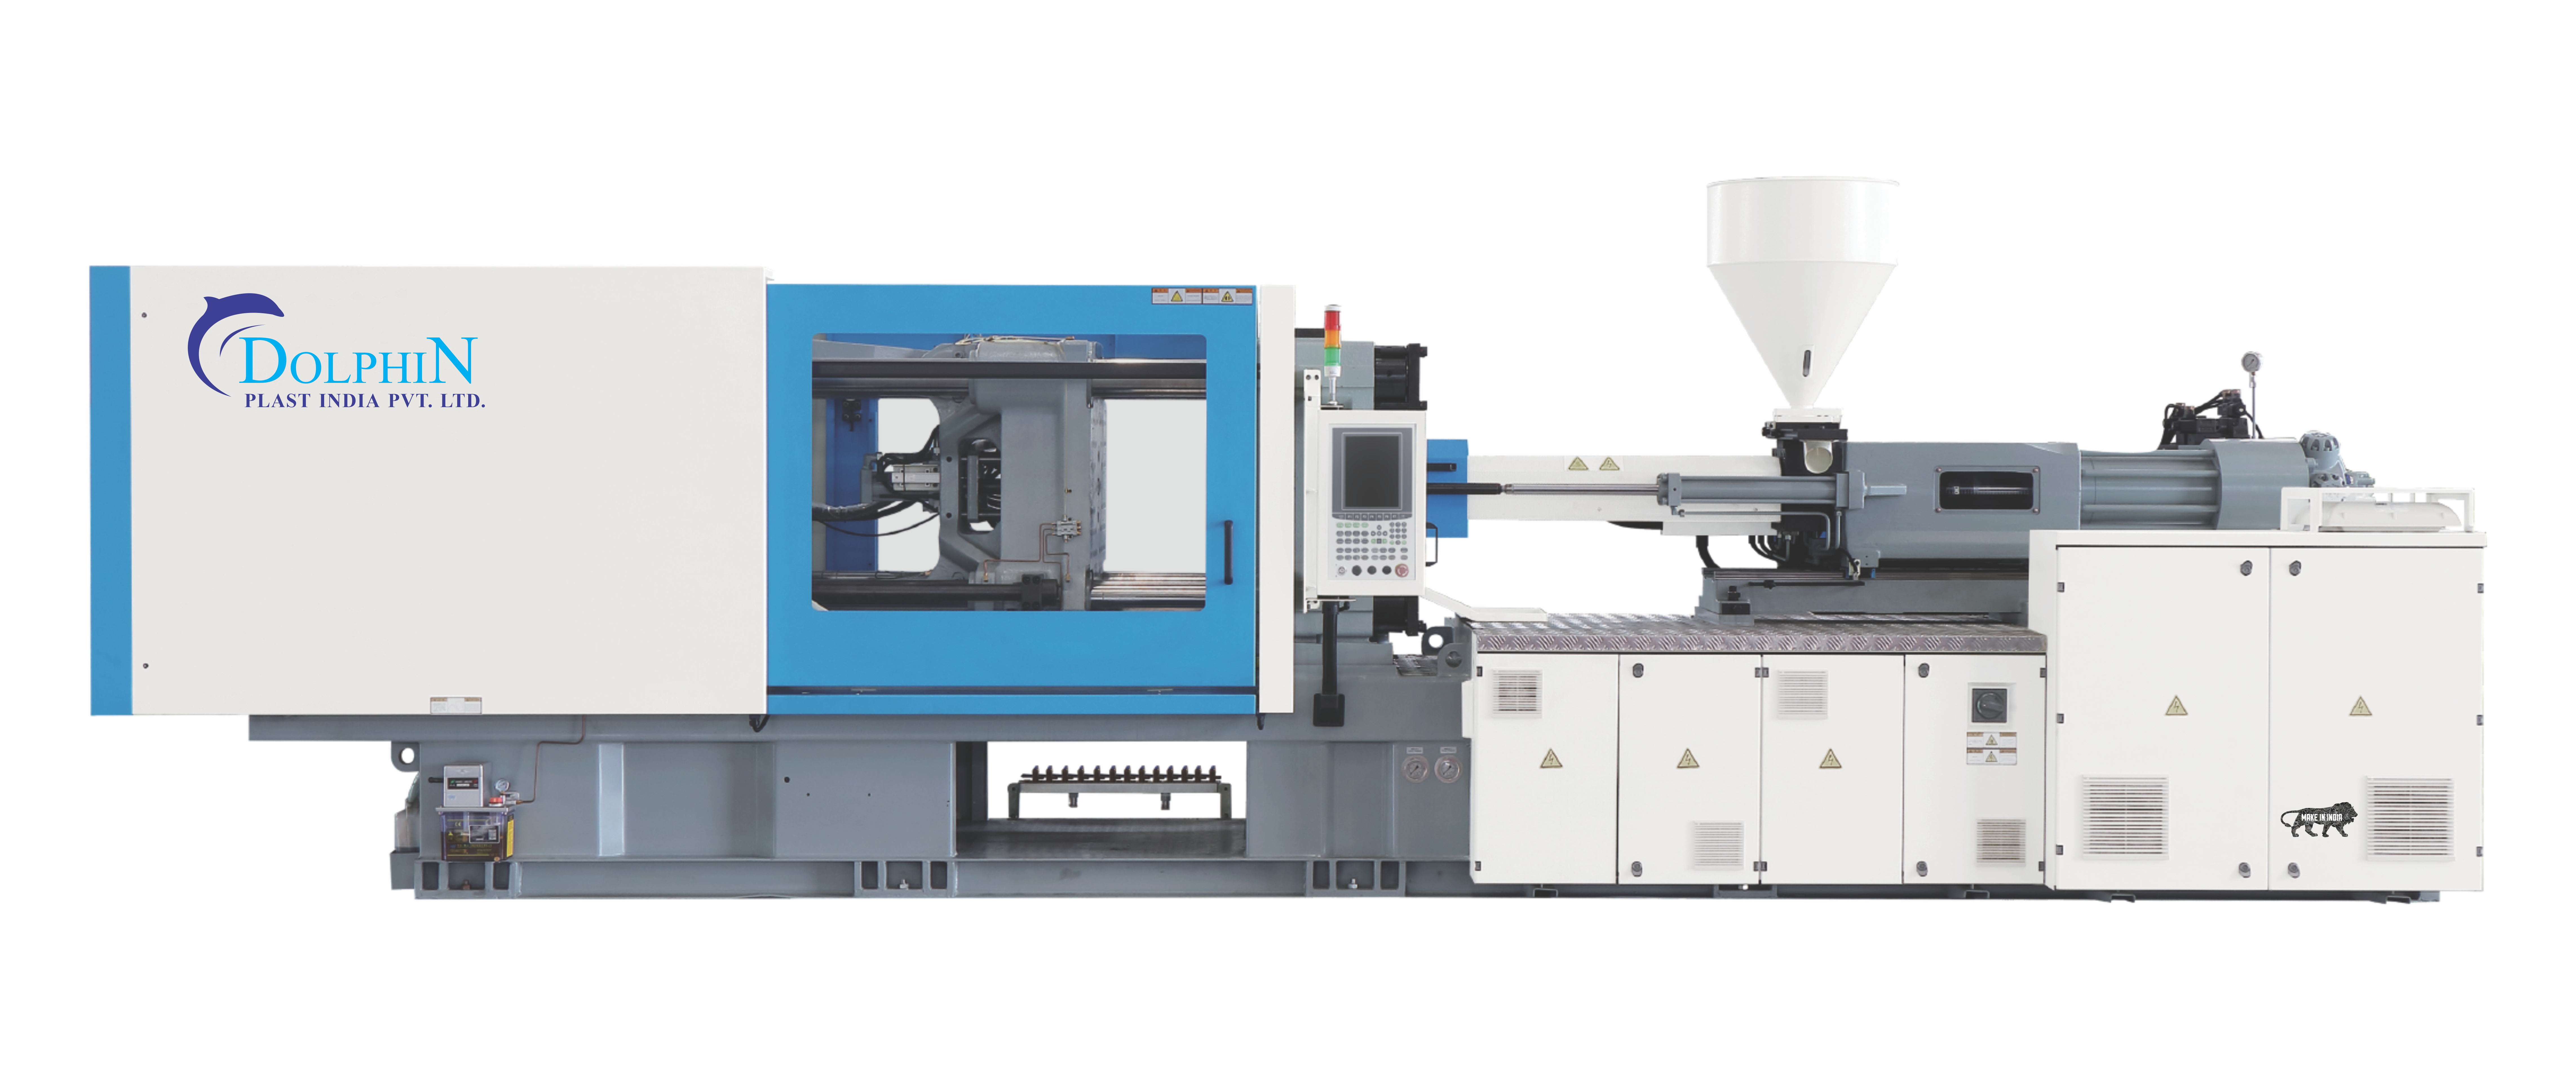
Creating precise and high-quality plastic parts begins with effective tooling. The design and construction of molds are crucial, representing a significant investment in the manufacturing process. To ensure successful and efficient production, here are ten essential tips for tooling plastic parts:
1. Understand Your Plastic
The choice of plastic material affects the design and function of the mold. Plastics can be amorphous or crystalline, each with different flow and shrinkage characteristics. Amorphous plastics typically shrink less and flow differently compared to crystalline ones. Engineering resins often provide better melting properties and less shrinkage. Always refer to plastic suppliers for information on shrinkage rates, temperature requirements, and melt flow rates to make informed decisions.
2. Incorporate Draft Angles
Draft angles are crucial for the easy removal of parts from the mold. A draft angle helps prevent damage during ejection. General guidelines include:
- 1° for untextured surfaces
- 3° for textured surfaces
Accurate drafting prevents interference with mating parts and ensures smooth ejection. For tight-fitting parts, minimize the zero-draft area to be as close as possible to the mating section.
3. Optimize Resin Flow
Effective mold design requires managing the flow of resin from thick to thin sections. Molten plastic loses pressure and temperature as it moves through the mold, so positioning the gate near thicker sections helps ensure complete filling. Balancing wall thickness is essential for strength, weight, and cost efficiency.
4. Minimize Rib Sizes
Ribs reinforce plastic parts and reduce warping. To avoid issues like sink marks, ribs should be designed with the following guidelines:
- Base thickness should not exceed 60% of the wall thickness.
- Rib height should be less than three times the part thickness.
- Rib thickness should be less than the base thickness.
Efficient rib design strengthens the part while minimizing material usage.
5. Account for Resin Shrinkage
Plastic resins shrink as they cool, which affects mold cavity dimensions. Design cavities larger than the final part to compensate for shrinkage. Modern CAD software can help predict shrinkage and adjust designs accordingly. Proper packing and holding rates in the mold can also mitigate shrinkage effects.
6. Design for Strength and Quality
A strong mold design is crucial for high-volume production. Proper gate placement ensures optimal melt flow and pressure distribution. Gates should be positioned to avoid visible marks on the part and be sized to allow adequate packing without extending cycle times. Include vents to release trapped air and gases, avoiding issues like flashing or burn marks. Simplifying mold designs and avoiding undercuts can also enhance strength and reduce complexity.
7. Ensure Proper Cooling
Effective cooling is vital to prevent warping and shrinkage while maintaining consistent production speeds. A well-designed cooling system helps regulate mold temperature, ensuring high-quality parts and efficient cycle times.
8. Proper Ejector Pin Design
The final step in molding is the ejection of parts. The design of ejector pins, their placement, and the ejection mechanism must be precisely calculated based on part geometry, resin type, and mold finish. Properly sized and positioned ejector pins prevent defects and ensure smooth ejection.
9. Use Prototypes for Testing
Before full-scale production, create sample molds to test and refine the design. Rapid prototyping helps identify design flaws and optimize parameters like temperature and flow rates. Options for rapid prototyping include:
- CNC Machining: Affordable and precise for both plastic and metal.
- 3D Printing: Techniques such as SLA, SLS, and FDM offer various advantages for producing prototypes.
- Rapid Injection Molding: Ideal for testing low-volume runs quickly.
10. Consider Cost Implications
Tooling costs can vary based on factors such as mold complexity, number of cavities, and core materials. Partnering with an experienced injection molding manufacturer can help balance performance and cost, ensuring an efficient and cost-effective production process.
By following these tips, you can enhance the precision, efficiency, and quality of your plastic parts, making the tooling process more successful and less costly.
Contact us for more brief information about injection molding machine.


